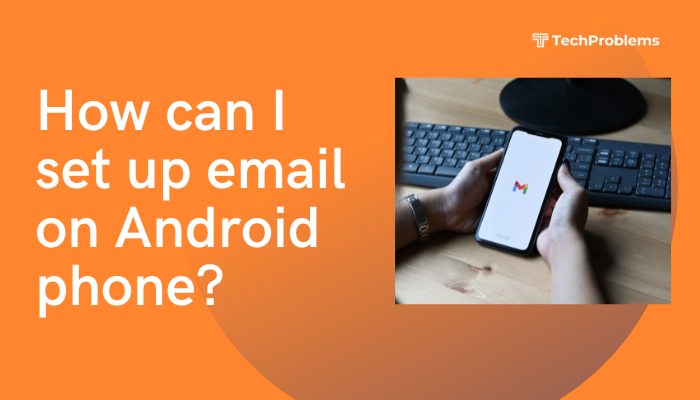
Setting up email on your Android phone lets you stay connected, manage communication on the go, and synchronize messages, contacts, and calendars seamlessly. Whether it’s a Gmail, Yahoo, Outlook, or a work email, Android provides simple built-in tools to help you set up and manage your accounts.
In this guide, you’ll learn how to set up email accounts on your Android device, troubleshoot common issues, and customize settings for a better experience.
Types of Email Accounts You Can Set Up
Android supports multiple email account types:
- Gmail (Google) – Default on Android phones
- Microsoft Outlook / Hotmail / Live
- Yahoo Mail
- iCloud Mail
- Corporate/Work Email (via Microsoft Exchange)
- Custom email domains (IMAP/POP3)
Method 1: Set Up Email Using the Gmail App (Recommended)
Most Android phones come with the Gmail app pre-installed, which supports both Google and third-party email providers.
✅ Steps to Add an Email Account:
- Open the Gmail App.
- Tap the profile icon or the menu (three horizontal lines) in the top-right.
- Tap Add another account.
- Choose your email provider:
- Outlook, Hotmail, Live
- Yahoo
- Exchange and Office 365
- Other (for custom or business emails)
- Enter your email address and password.
- Follow any additional steps to grant permissions or configure sync settings.
- Tap Next and then Agree to complete setup.
Once set up, your inbox will appear in the Gmail app alongside any other accounts you’ve added.
💡 You can switch between accounts by tapping the profile icon in the Gmail app.
Method 2: Set Up Email Using the Built-In Email App (Samsung, Huawei, etc.)
Some Android manufacturers (like Samsung) include a default Email app separate from Gmail.
✅ Steps:
- Open the Email app.
- Tap Add account.
- Enter your email address and password.
- Choose IMAP, POP3, or Exchange (if required).
- Enter server settings if not automatically detected:
- Incoming Mail Server (e.g., imap.mail.yahoo.com)
- Outgoing Mail Server (SMTP) (e.g., smtp.mail.yahoo.com)
- Set sync frequency and notification settings.
- Tap Done.
Your email will start syncing, and you’ll receive messages via the Email app.
Method 3: Manually Set Up IMAP or POP Email
Use this method if you’re adding a custom email domain (e.g., from a company or personal domain).
✅ Steps:
- Open Gmail or another Email app.
- Tap Add account > Other.
- Enter your email address.
- Choose account type:
- IMAP (recommended for syncing across devices)
- POP3 (for downloading mail to one device)
- Enter your:
- Incoming mail server (IMAP/POP)
- Username and password
- Security type (usually SSL/TLS)
- Port number (e.g., 993 for IMAP, 995 for POP)
- Enter your:
- SMTP (outgoing mail) server
- Authentication credentials (same as incoming)
- SMTP port (typically 465 or 587)
- Tap Next, and complete account settings.
📌 Get these server details from your email provider or hosting service.
How to Sync Email Automatically
After setup, you’ll want to ensure your emails sync properly.
Steps:
- Go to Settings > Accounts.
- Tap your email account > ensure Sync Email is enabled.
- Open the Email or Gmail app > Tap Settings > Check Sync frequency and Notification settings.
You can choose to sync:
- Every 15 minutes
- Every hour
- Manually
- In real time (Push notifications)
Troubleshooting Email Setup Issues
❌ Not Receiving Emails?
- Check internet connection.
- Ensure sync is enabled.
- Clear cache of the Gmail or Email app.
- Settings > Apps > Gmail > Storage > Clear Cache
- Re-enter your account password.
- Remove and re-add the email account.
❌ Authentication Failed?
- Double-check your username and password.
- Make sure 2-Step Verification (if enabled) allows third-party access.
- Use an App-Specific Password for iCloud or Outlook accounts.
❌ Can’t Detect Server Settings?
- Get IMAP/SMTP info from your provider (GoDaddy, Bluehost, Office 365, etc.).
- Use official help articles for:
- Gmail IMAP
- https://support.microsoft.com/en-us/office/pop-and-imap-account-settings-8361e398-8af4-4e97-b147-6c6c4ac95353
- https://help.yahoo.com/kb/SLN4075.html
Tips for Better Email Experience on Android
- Use labels and filters in Gmail for organization.
- Enable dark mode for comfortable reading.
- Set notifications for important folders only.
- Use email widgets on the home screen for faster access.
- Consider a third-party email app like:
- Outlook for Android
- BlueMail
- K-9 Mail
Conclusion
Setting up email on your Android phone is a simple process—whether you’re using Gmail, Outlook, Yahoo, or a custom domain. The built-in Gmail app supports multiple providers and syncing options, making it the easiest and most reliable method. If you face issues, clearing the cache, updating server settings, or enabling sync usually solves the problem.
With your email set up correctly, you can manage work, personal communication, and documents from anywhere—right from your Android device.

